To start, you'll need to make your siggy. When making the siggy, be sure to put text in it to direct people where to go, in my siggy I'm going to direct people to the blogs of my CT bosses. In addition, you'll need to have a background that is not transparent, white is a good solid choice. If you need to add a background layer go to Layer --> New Fill Layer --> Solid Color & place it at the bottom of your layers.
Once your siggy is how you like it, you'll need to merge all the layers together; do this by going to Layer --> Merge Visible. I'm kind of a picky person so I would then rename the merged image Layer 1.
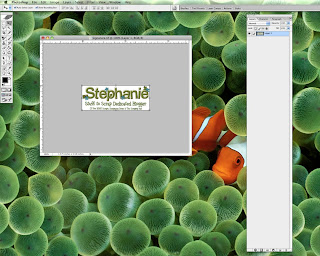
Now comes the fun part, slicing up the siggy. You'll need to select the Marquee Tool which is similar to the Crop Tool but allows you to make layers. Using the Marquee Tool, select the area which will make up the first website link. As you can see in the example, I have selected an area to just past the end of "Scraps." Marching ants will appear to show you what the layer will look like when it's cut.
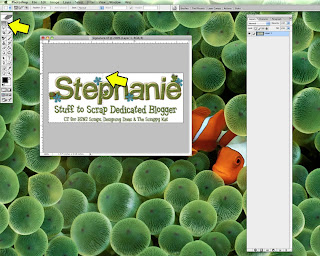
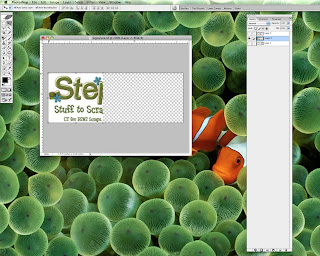
Next you need to go to Layer --> New --> Layer via Cut which will turn the selected area into a new layer. As you can see in the example on the right, there are now two layers & if you turn off the visibility on the new layer/Layer 2 you can see the rest of the siggy that needs to be sliced up. Continue using the Marquee Tool to slice up your siggy but make sure that before you select a new area you have your bottom layer/Layer 1 selected! Don't worry about making your selection perfect, the Marquee Tool will only cut visible images so if there's some transparent pixels in your selection, it'll just ignore those.

Once you've got the siggy sliced up, you'll want to save each layer as a separate JPG file. Starting with the left side of the siggy, turn off the visibility on all the other layers. Go to Image --> Trim to get rid of all the transparent pixels. Save the trimmed file as a JPG. Now backtrack two steps by either using Ctrl + Z or Edit --> Step Backwards to get those transparent pixels back. Turn off the far left section & turn on the visibility of the next section. Trim, save & repeat for each layer until you've got JPGs of each layer.
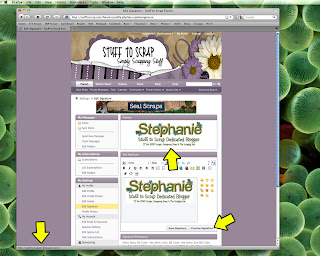
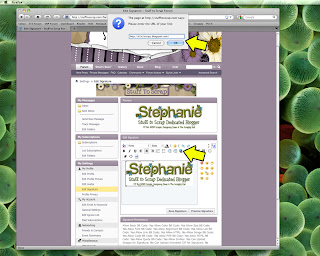
Upload your siggy files to your preferred image hosting site, then head into the Settings section of the forum. You'll see a link called Edit Signature, clicking on that will bring up the area to upload your signature to. Click on the Insert Image icon & paste in the links to the siggy images one at a time, starting with your far left image. When you highlight one of the images you can see that it's not connected to the other images. With each image selected, click on the Insert Link icon & paste in the website you want that section of the siggy to link to.
You can tell the link has been accepted by clicking on the Preview Signature button & then hovering your pointer over a section of the siggy. You should then be able to right-click & open the link up in a new tab or window to make sure the link is working. Once all the images in your sigggy have been linked, hit Save Signature & you're done!
A quick note about siggys. You are welcome to link your siggy to your personal blog/Facebook/Twitter, any Stuff to Scrap Designer blogs or your Stuff to Scrap Gallery but please do not link them to other stores or non Stuff to Scrap designer blogs. Have fun!
Disclaimer for Tutorials: I use Photoshop CS 8 for Mac so I can't speak to how things may work in a different program. However, I've posted this tutorial in the forum & if you have any other general tips or tips for different programs, please post them in the thread for everyone to see!


2 comments:
Do you ever do tuts in PSP XI 3? Just wondering.. Thanks
Unfortunately, I don't have that program but if you have any tutorials that you'd like to share for it pass them along to me & I' be happy to post them!
Post a Comment