
When I started digiscrapping, I wondered how designers managed to make all those great papers in their kits. The answer is overlays ... lots & lots of different overlays! If you're a visual person like me, think of an overlay as a filter that you look through. In general, overlays come in 12 x 12 size at 300 ppi & can be either patterns or textures. Designers will mix & match different overlays to get the desired look; a paper can have several different overlays on it depending on what the designer is looking for.
For example, if you look at the kit preview for the October Use It Or Lose It Challenge, you'll notice that the paper on the far right has a flower pattern & also looks distressed. Both the pattern & the distressed look would have been two separate layers that Becky merged with her color layer to get the final paper.

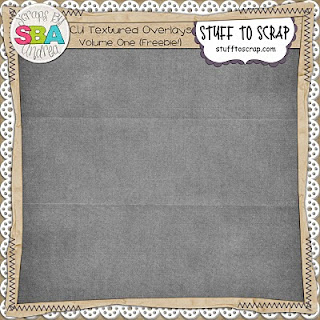
Using an overlay is very easy & I'm going to show the quick & easy way to use one. For this I'm using a texture overlay from Scraps By Andrea, this will give my color layer a little oomph. I'm going to use it to make the background for my preview for the November Road Trip.
First, open up a blank 12 x 12 page in your scrapping program; I have a template that I use for previews so I'm going to use that. Next, create a new fill layer by going to Layer -- > New Fill Layer -- > Solid Color.

When the Color Picker option pops up, choose your color using one of the options provided. Now you'll have solid color layer that looks a little blah.

To fix the blah, open up the texture you're going to use and center it over your color layer.

Now let's take care of that little gray problem. With your texture layer selected, you're going to change the layer from Normal to Overlay; in my program it's located in the drop down menu in the Layer Palette.

By doing this, you're changing the blending of the texture layer which allows the color layer below it to show through. Now I've got a very pretty background layer that will be great for my Road Trip preview ... when I get the template finished that is!

You can play around with the different blending modes & opacity to get different looks so have some fun & experiment. The Stuff to Scrap designers have a lot of great overlays to use, check out the Overlays/Textures section of the store for what's currently available. Next week, we'll discuss how to use a patterned overlay with the texture overlays to make your papers even more fun.
If you liked the overlay I used, you can snag it for free for a limited time over at Andrea's blog, don't forget to check out all the textures she has for sale!
** This freebie has expired, check back often for new freebies! **
Disclaimer for Tutorials: I use Photoshop CS 8 for Mac so I can't speak to how things may work in a different program. However, I've posted this tutorial in the forum & if you have any tips for different programs, please post them in the thread for everyone to see!
1 comment:
Just a quick note to let you know that a link to this post will be placed on CraftCrave today [05 Oct 09:00pm GMT]. Thanks, Maria
Post a Comment