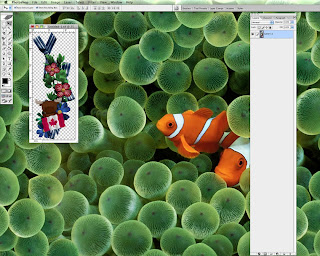
First you'll need to merge all your cluster layers together, if you've added the overlapping drop shadows then this step is already done. For a cluster or element that still has layers you'll need to go to Layer --> Merge Visible.
Now let's trim your cluster, here's how to do it in several different programs.
- Photoshop Elements: Hold down your control key & click into the thumbnail version of your element in the layer palette. The little marching ants will come up all around your element. Then, go to Image --> Crop. All the transparent pixels will be gone.
- Paint Shop Pro: Copy & paste the cluster as a new image.
- GIMP: Go to Image --> Autocrop Image & the program will do the work for you.

Once all the transparent space is gone you can save the cluster as a PNG file & package it up with a preview & your TOUs. I've left my cluster freebie up for everyone to snag, just go to last week's post to grab it!
Disclaimer for Tutorials: I use Photoshop CS 8 for Mac so I can't speak to how things may work in a different program. However, you can find this tutorial in the forum & if you have any other general tips or tips for different programs, please post them in the thread for everyone to see!


No comments:
Post a Comment